|
| Happy 70th Birthday, Gramma Shirley! |
Wow, can you tell it's summer? I have been meaning to maintain the blog, but the pool and reading in the sun have been more appealing lately.
So my husband's birthday was last Saturday so I made a cake for the family on Sunday to celebrate. It wasn't exactly how I hoped it would be because I couldn't find one ingredient at Wegman's so I sort of changed things up and bit. I gotta tell ya though, I am pretty sure this version was better received than the original recipe would have been. Remind me and I will put up both recipes and you can see which one your family likes better.
ANYWAY, the cake turned out OK considering I sort of flipped one of the 8" round cakes onto the cake plate the wrong way and failed to notice until I had already frosted the top. I said eff it and plopped the other cake on top of it and then flipped the entire cake over so it was the way I wanted it. I would never recommend doing this because it is extremely risky. Depending on the cake and the tenderness of the crumb, it could wind up a heap of frosting and cake crumbles. IF that does happen - or if you feel like getting messy and making something your kids can help with - there is hope!
Cake balls! It's a simple but very attractive way to present a cake. I decided to make my gramma a bunch of cake balls today for her birthday (yesterday) because she and my Pa would never be able to finish and entire cake by themselves (especially since Pa is diabetic) before it got dry and gross. Luckily these can be refrigerated or frozen (so I have been told) as long as they are kept in an air-tight container for a week in the fridge or several weeks in the freezer.
Here's What You Will Need:
- Cake mix*
- Eggs
- Oil
- Water
- Frosting*
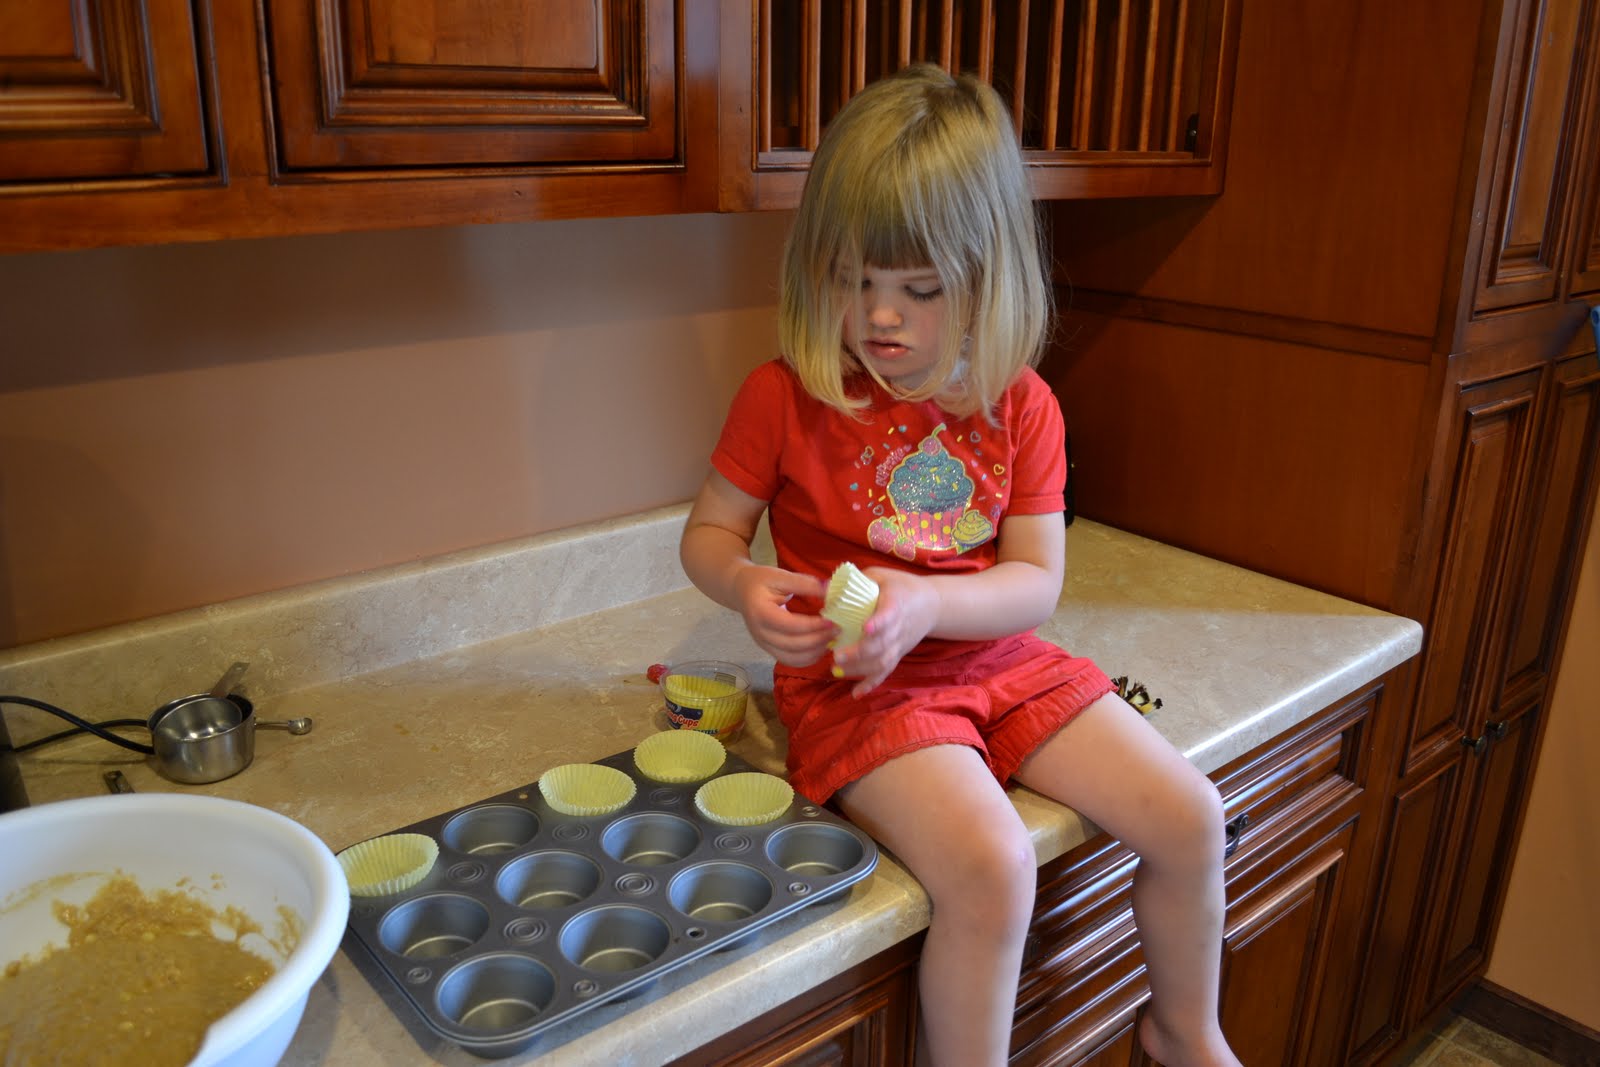
- Mini cupcake papers
- Wilton's melts (of any color)*
- Parchment paper
- Plastic wrap
- Toothpicks
*Pick flavors and colors that will compliment each other. For my gramma's birthday I chose red velvet cake, cream cheese frosting, milk chocolate Wilton melts, and white chocolate Wilton melts (as the accent color).
1. Mix and bake the cake as directed on box.
2. Flip the cake out onto parchment paper covered cookie sheet.
3. Let cool at room temperature for about 10 minutes; Using a spatula or a spoon gently break the cake apart, allowing the steam to escape.
4. Cover with plastic wrap and refrigerate for 2-3 hours until it is completely cool.
5. Carefully dump the cake into a large mixing bowl. With a rubber spatula, scrape the entire contents of a tub of frosting into the cake crumbs. Mix by hand until cake and frosting is completely blended.
6. Return cake mixture to the refrigerator for another hour.
7. Using a teaspoon, scoop (I hate that word) out a walnut-sized amount of mixture and roll between your hands until you've formed a ball. Place on a parchment paper covered cookie sheet. When all the mixture has been balled (between 24-30 balls), cover with plastic wrap and refrigerate until cool and firm. The firmer they are, the better. As they come to room temperature, they are going to be increasingly more difficult to work with. If you don't want cake crumbs in your coating, work in small batches - keep the sheet in the fridge/freezer and take a few out at a time.
 |
| Red Velvet cake balls look like meatballs, don't they? |
*You can alternately use the freezer for any of the cooling steps, but you run the risk of losing moisture or picking up unsavory freezer smells (frozen peppers or onion flavors can and will seep into a cake cooling in the freezer).
8. Melt Wilton melts according to instructions. I usually microwave a small amount and work in small batches. This is a little more time consuming, but it is well worth it.
 |
| I used the empty, clean frosting to melt the coating. It worked better than the shallower containers. |
 |
| Make sure you have everything prepped before you begin. |
9. Place one cake ball at a time into the melted coating. GENTLY turn once to ensure complete coverage. Using a small slotted spoon and a toothpick, GENTLY lift the ball with the spoon, tap off excess coating, and skewer the ball with the toothpick. Place the ball on the parchment paper LEAVING THE TOOTHPICK INSIDE.
*Do not rely on the toothpick to hold the weight of the cake ball, because the ball can and will crumble. GENTLY slide the ball off of the spoon using the toothpick as leverage. You don't want to touch the melted chocolate because it won't look as nice.
10. Let the balls cool completely. Decorate with accent color, if desired. I recommend purchasing the Wilton squeeze bottles for this. They provide a much more consistent stream and make even application easier.
11. After the coating is completely hardened, slide off of the toothpick and place in mini cupcake papers.
 |
| I was able to fit about 18 of them in a Gladware Take and Bake. |
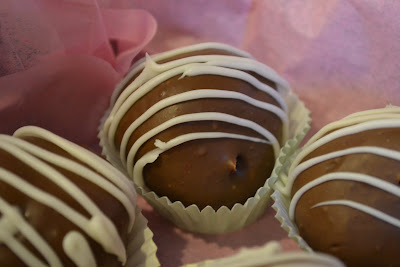 |
| They look great, right?! Sorry I didn't take pictures of the process, but it takes a great deal of concentration and time is of the essence! |
This one and two others didn't make the aesthetic cut, so the kids and I did a taste test. Yum!
 |
| Mangia! |